
I really loved making this project, it is always challenging to work in miniature, not just because it is physically more demanding but also because it is less forgiving when it comes to mistakes. I remember Andy telling me once that at the beginning of a lesson the art teacher at his school made them work in ballpoint pen to make them more observant when sketching, well this is the needlefelt equivalent! If you are new to needlefelting, as I am, then you can refer back to this article in which I share how I got myself up-to-speed on initial easy to follow projects.

Creating the Teddy
BODY - Take a small piece of fine roving or fairy wool, approximately 1" (2 cm) long, tease it out to around double its length and then tie a knot in the middle.
Taking
the wool at one end start to wrap it around the knot with a diagonal
motion, you may need to stop and needle felt it slightly by just gently
felting (jabbing) the wrapped wool onto the knot with a fine needle.

Than
take the other end and repeat to achieve an egg shape for the Teddy
Bear's body. Needle felt (lightly jab) all over the egg shape to firm up
the body. If you are worried use a pair of tweezers to hold the work.

HEAD - Take a length of roving or fairy wool half the size of the amount you took for the body and repeat as for the body

EARS (pictured above)
- Pull off two short ½" or 1cm length fine sections of wool and then
gripping each end firmly pull it apart and restack it several times so
that you have a flattish, even square piece to work on with the fibres
in the same direction. Repeat with another piece of wool, so that you have the two ears ready
to work on at the same time. Stab a vertical line with your needle (illustrated above with black dots) all
the way down the ear and then stab a small ear shape, leaving enough
wool at the bottom unfelted, this will allow us to attach the ear. Then
start rolling the wool inwards around the ear shape and felting with the
needle to create a hollow in the middle where you can add a little
contrasting wool. I just rolled a tiny amount of darker Jacob wool in my
finger tips and then felted it in.

FACE - When you use the fine needle over and over in the same place
it will pull in and affix a round ball of wool to make a very handsome
eye. The more you felt, the smaller the eye will become, so this is a
great technique for getting the eye to the exact size. Roll a piece of
dark wool into a ball and then do as above. On a larger subject you can
also add highlights and/or coloured irises in the same way. Similarly
for the nose. Again if it is too thick use the fine needle stabbing
technique to make it thinner.
 LEGS
& ARMS - These are made from short sections of wool, ½" or 1cm
lengths but unlike the ears take treble the thickness. As with the ears,
grip both ends and pull out the fibres and restack them so they are all
going in the same direction. Then stab a vertical line down the middle
of the piece and at right angles to the fibres, after which you should
roll up each end to create the paw and shoulder/top of leg. Then roll in
the wool from one side into the centre line to make a cylindrical shape
and needle felt lightly to hold together. Gently lift the piece off the
mat and then roll in the wool from the other side. For the arms flatten
the paw end and add a touch of darker wool. Do the same with the bottom
of the feet. Repeat three times to make the four limbs.
LEGS
& ARMS - These are made from short sections of wool, ½" or 1cm
lengths but unlike the ears take treble the thickness. As with the ears,
grip both ends and pull out the fibres and restack them so they are all
going in the same direction. Then stab a vertical line down the middle
of the piece and at right angles to the fibres, after which you should
roll up each end to create the paw and shoulder/top of leg. Then roll in
the wool from one side into the centre line to make a cylindrical shape
and needle felt lightly to hold together. Gently lift the piece off the
mat and then roll in the wool from the other side. For the arms flatten
the paw end and add a touch of darker wool. Do the same with the bottom
of the feet. Repeat three times to make the four limbs.
TO
JOINT THE BEAR - Thread a sewing needle with a double length of fine
cotton of a similar shade to the bear. Run it through the body from the
bottom to the top leaving a good length of surplus cotton. Then thread
the needle through the head. Make a small stitch at the top of the head,
this will be hidden by the ears and then following the same vertical,
back through the head and body. Knot the two ends of the cotton firmly
together and cut off the excess.


Do the same for the legs.
SCARF
- Using large sewing needles, such as for sacking or tapestry work,
cast on one stitch with one strand of tapestry wool. Knit a scarf for
your bear.

TRIM - If
you want to you can give your teddy a trim with a pair of nail or hair
scissors, just maybe to tidy up around the eyes, nose, paws but actually
for the rest I really like the 'Airedale' look!
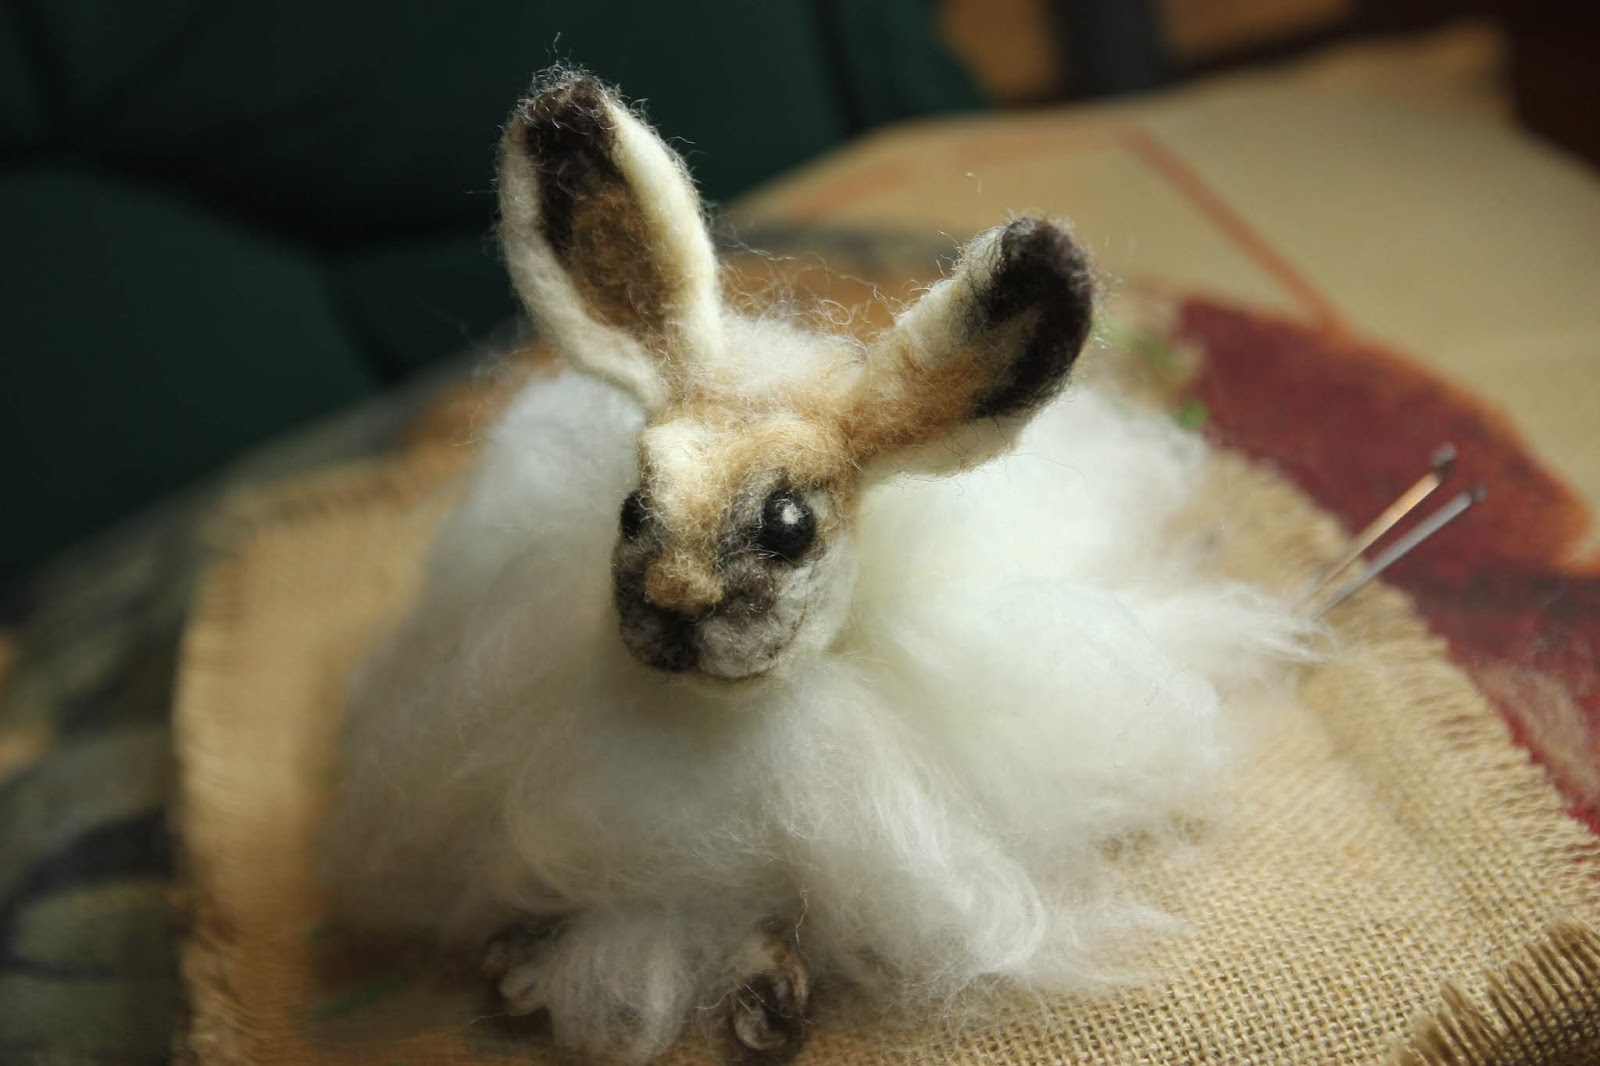
Here's another version plus Itty Bitty Bunny I made for my sister's Birthday.

As an extra idea this design could be made into a brooch.
Hope you enjoyed this project as much as I did and hope to see you again soon.
Sue
RELATED ARTICLES
 Getting Started With Needle felting & Making Miniatures
This is part of an ongoing project of making props and extras for our
stop motion dolls' house film. The animation centres around an Edwardian
dolls' house...read more
 4 Homemade Gothic Vampyre Costumes for Chickens

Although I am serious about organic agriculture and sharing ideas about forest garden poultry, most of what we
do here is a lot of fun...read more
© 2019 Sue Cross
No comments:
Post a Comment